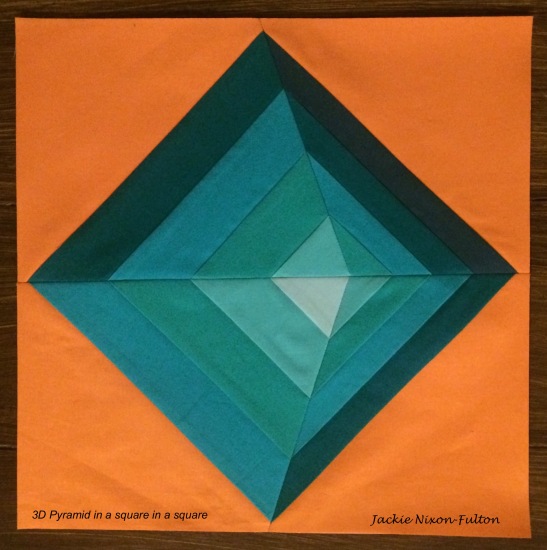
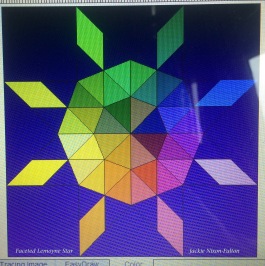
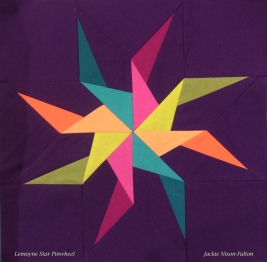
Lemoyne Star is the block for this month’s Modern Quilts Unlimited/Michael Miller block challenge. This was particularly challenging as I had an episode of sciatica this past month. Wow! I cannot imagine having that much pain and spasm long term! It really put the skids on my normal energizer bunny life style. Anyway, I am much better now! I came up with a design early on that I called “Faceted Lemoyne star”, but there were so many tiny pieces and I just didn’t think I was up to that. I had plenty of time to lay around and daydream, so I redesigned the block on EQ7 and came up with “Lemoyne Star Pinwheel”. It is a really beautiful simple block. I love the 3D effect and the luminosity of the fabrics against the dark background.
So next came construction. I thought I would try using Ruth B. McDowell’s technique. I recently got a couple of books by Ruth B. McDowell…her “Piecing Workshop” and her “Design Workshop” in order to expand my piecing skills to do more complicated blocks. It is paper piecing with a twist. Freezer paper is used as templates and you don’t sew through the paper. The finished product is not a mirror image of the pattern as with traditional paper piecing. After designing my block on EQ7, I decided to try her technique to put this block together. With all the marking you do it actually turned out to be more accurate than regular paper piecing.
On the left is the 12″ block printed onto regular paper and taped together. Then you trace the block onto the shiny side of freezer paper with a sharpie (below right). The outside perimeter is marked with a highlighter to orient your sides to straight of grain.
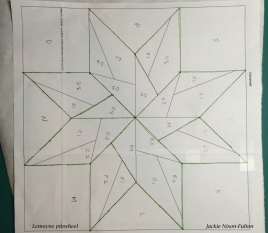
Paper template for auditioning fabric
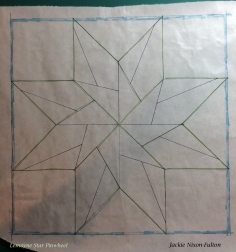
Traced design on shiny side of freezer pape
Then you turn the freezer paper over and with a pencil trace the pattern, outline each section with a colored pencil, label each piece and note the color of fabric, etc, and make markings to line up pieces and mark intersections (below).
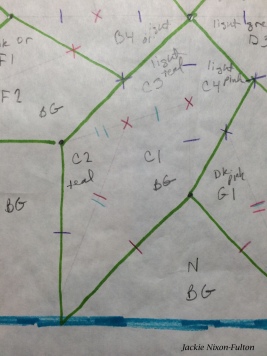
Sections labeled and intersections marked
Next the freezer paper sections are cut out and ironed onto the back side of the corresponding fabric. Using a rotary cutter and a ruler, cut out each piece adding 1/4″ all around (below left). For the pieces on the exterior edges, line the straight of grain up with the highlighted outside edge. This ensures that you do not have bias on the outside of edges of the block. For the outside edges, I added at least 1/2″ seam allowance to ensure that when the blocks are squared up I have enough fabric (Sometimes, even I am not perfect!) to make the blocks a perfect 12.5″.
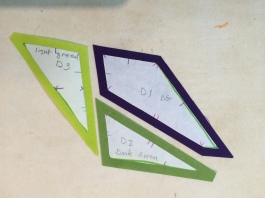
1/4″ seam allowance added
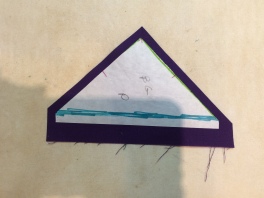
Add extra seam allowance outside edges
You can audition the fabrics by placing the pieces on the front side of the original paper template (Below left). Next, the subunits are joined matching the marks. In this case D1 to D2. (Below right). Sewing just to the edge of the freezer paper. Then adding D3.
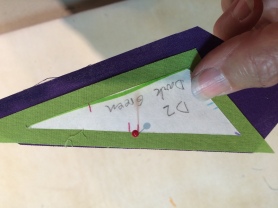
Matching the marks on the seam lines.
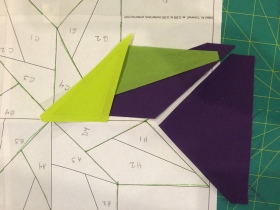
Auditioning the fabric
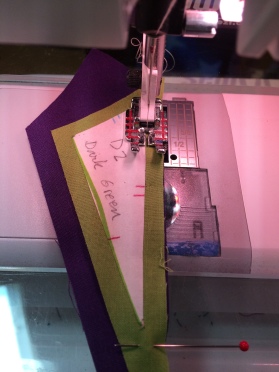
Sewing adjacent to the freezer paper
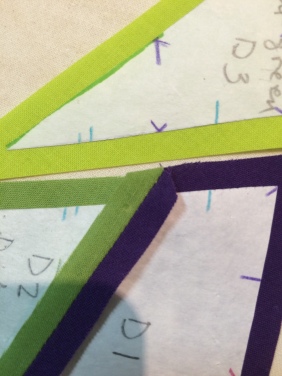
Adding D3 to the sewn D1/D2 piece
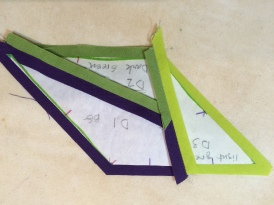
Finished subunit. Reverse.
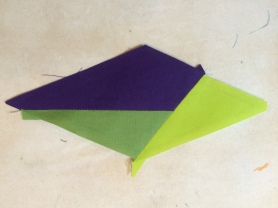
Finished subunit
Finished subunit D1/D2/D3 is shown above with seams pressed open.
My background squares and triangles were added using Gylene Fitzgerald’s Y-seam “butterfly” method. All the points matched very well, if I do say so myself!
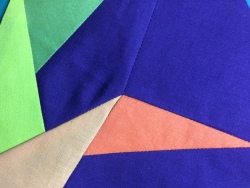
Added background square and perfectly matched points
Voila! The finished block!
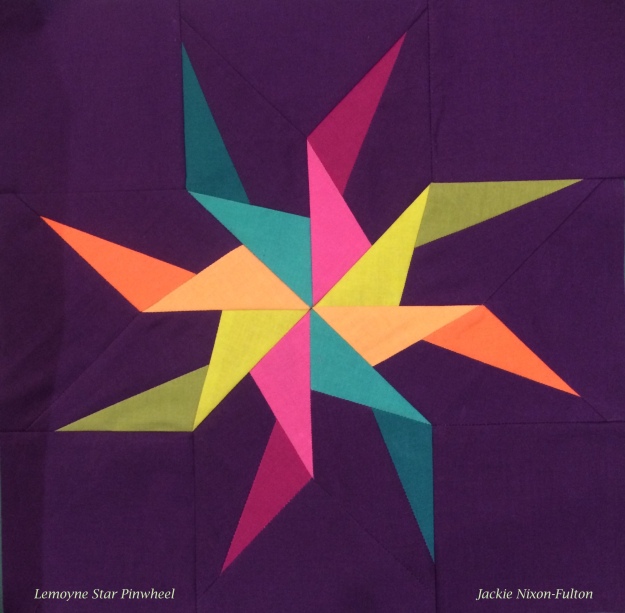
By the way, this block did win the block challenge!

